The Full Picture
Everything You Need to Know About Acrylic Nail Designs
Acrylic nails have the longest history of any nail enhancement system. The technique was invented in 1954 by Dr. Fred Slack, a dentist who fractured his nail at work and improvised a repair using dental acrylic. He patented the process, and his brother Tom Slack commercialized it through a company called Peerless International. By the 1970s, acrylic nails had become fixtures of American beauty culture, and the first dedicated nail salons — originally called "nail shops" — were built specifically around the service. The chemical technology has been refined significantly in the decades since, but the core two-component system (liquid monomer plus powder polymer) remains essentially the same.
The acrylic formula works through a chemical reaction rather than a light cure. When a brush dips into monomer liquid and then picks up polymer powder, the two components begin polymerizing immediately — forming a workable bead that a technician has roughly 90 seconds to shape before it hardens. No UV or LED lamp is needed. This is the fundamental difference between acrylics and gel: acrylics self-cure through chemistry, gels cure through light. The hardened acrylic is denser and more structurally rigid than gel polish, which is why acrylics are the go-to material for dramatic nail lengths, extreme shapes, and 3D embellishments that softer gel products can't support.
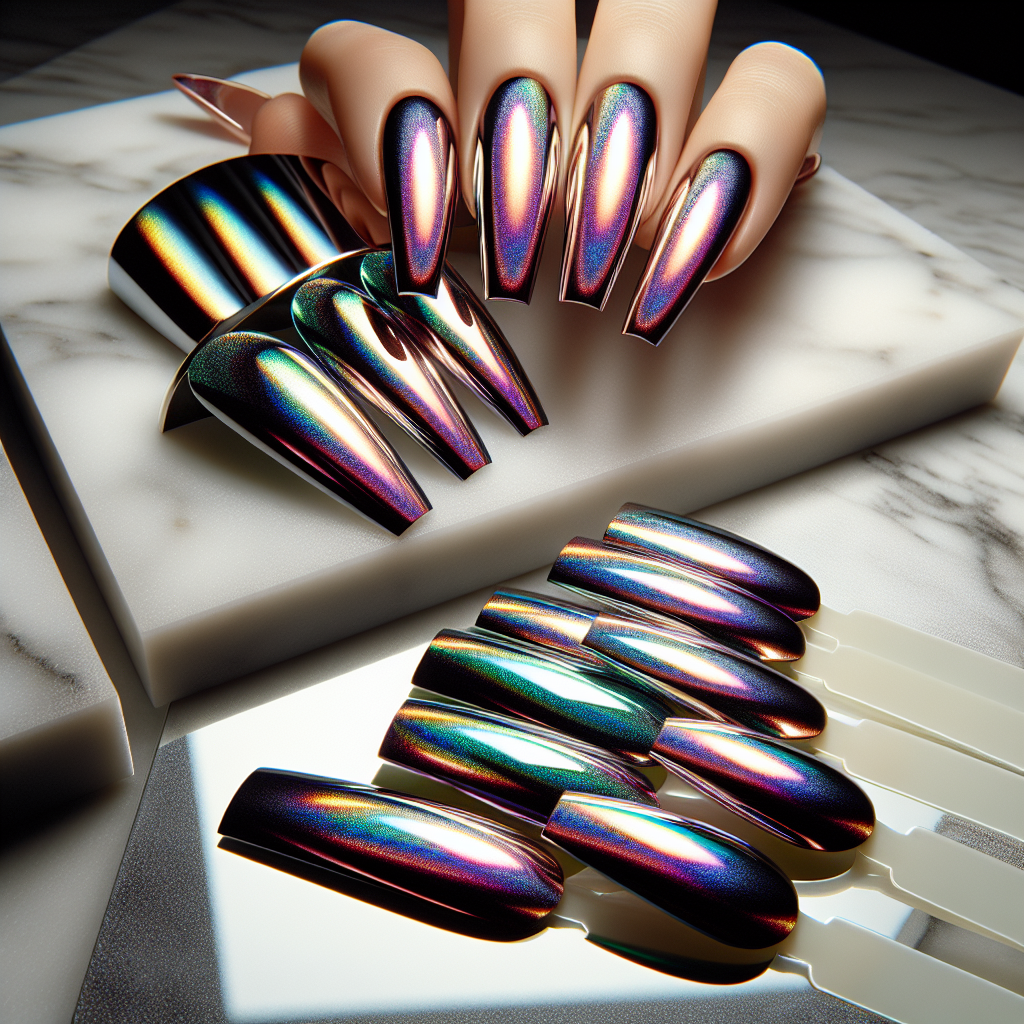
Acrylic nails are still the most durable nail enhancement available. Professional sets last 6–8 weeks with regular fills every 2–3 weeks. For people who want long, statement nails that can survive real life — typing for hours, cooking, working out, opening packages — acrylics outperform every alternative. The acrylic base is also the most versatile finishing surface: gel color, chrome powder, glitter, foil, hand-painted nail art, and 3D gel sculpting all adhere to cured acrylic better than to natural nails. A single acrylic set can be refinished multiple times with fresh color or art without rebuilding the base.
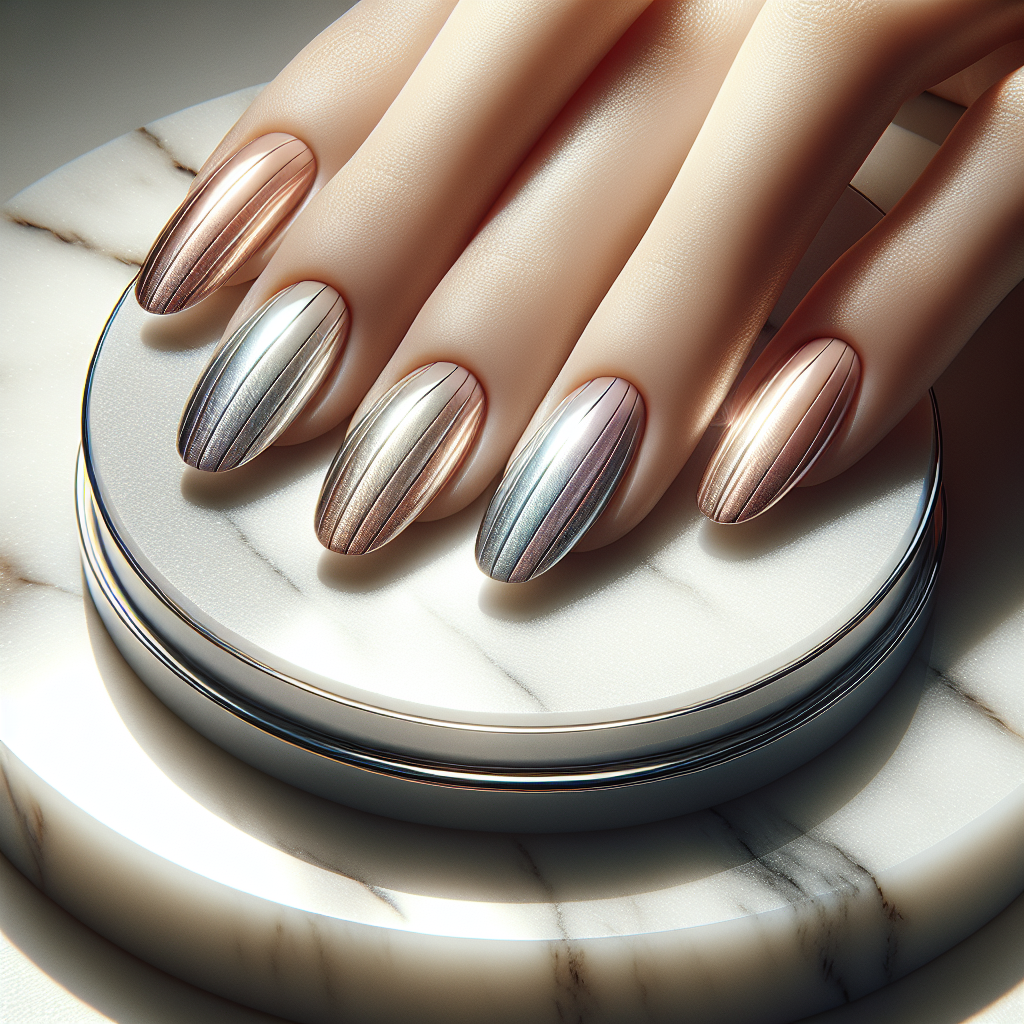
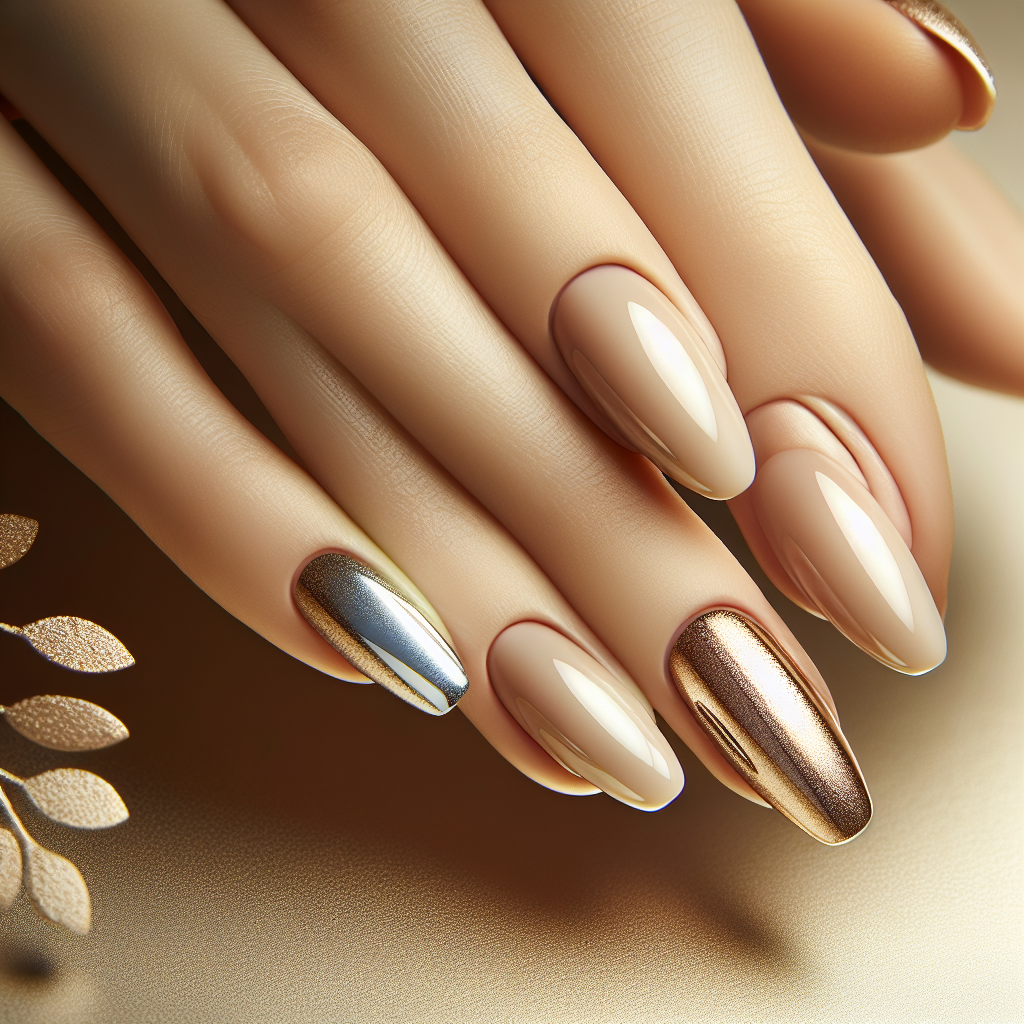
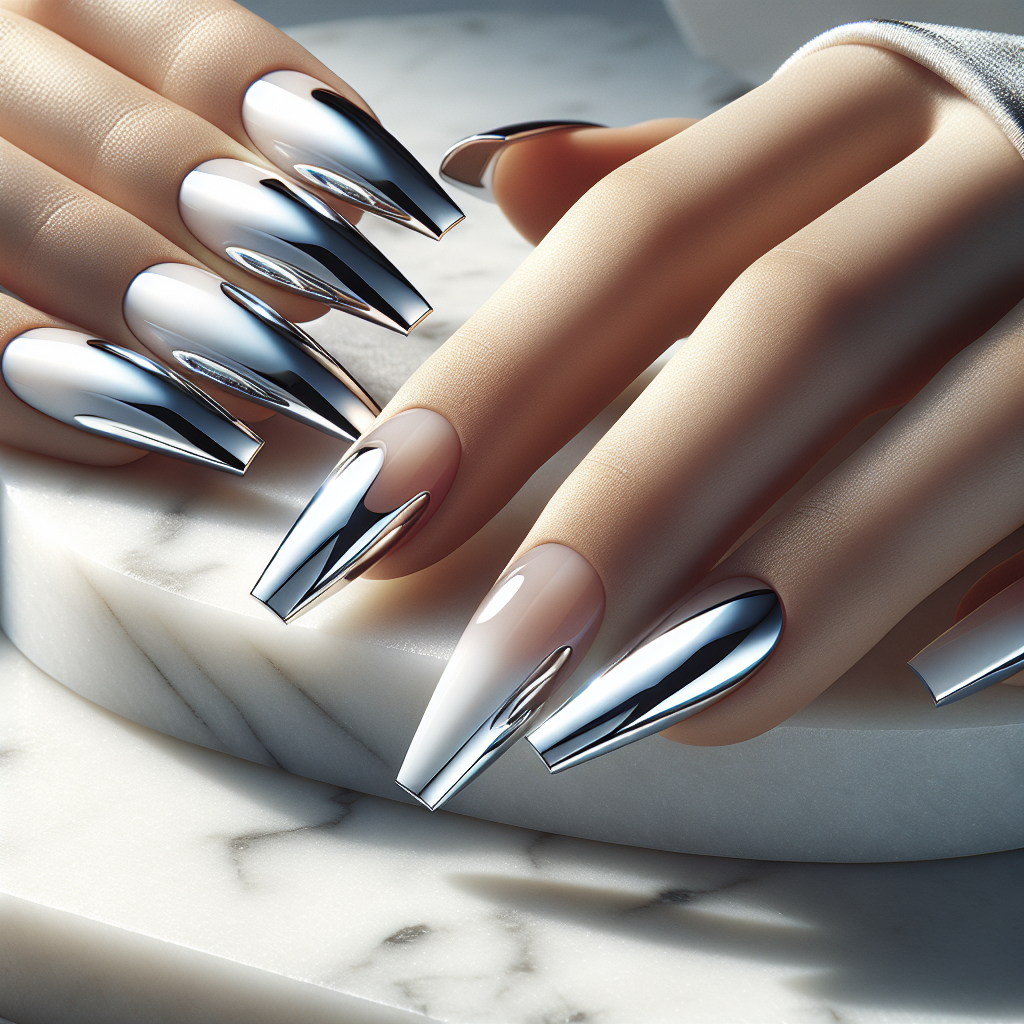
In 2026, acrylic nail trends lean toward clean, well-shaped sets at medium length. The era of extremely long acrylics at every occasion has evolved into something more selective — dramatic lengths for special occasions, medium-length refined sets for daily wear. Popular finishes include quiet luxury cremes (dusty rose, warm taupe, sheer nude), chrome French with mirror-finish tips, and botanical nail art on one or two accent nails. The craftsmanship of the underlying shape — consistent taper, clean apex, no lifting — is more appreciated now than ever.
Step by Step
How to Apply Acrylic Nails
- Remove any existing polish, gel, or enhancement. Buff the natural nail plate with a coarse file (80–100 grit) to remove all shine and create mechanical adhesion.
- Push back cuticles and clean under the free edge. Remove all dust and debris with a nail brush.
- Apply nail dehydrator to each nail and let it evaporate completely (30 seconds).
- Apply nail primer to each nail and wait until the primer appears clear or slightly white — this indicates it has bonded properly.
- Attach a nail form under the free edge (for sculpting) or apply a nail tip with adhesive (for tip-and-overlay) to add length.
- Dip your acrylic brush into the monomer liquid, wipe excess on the jar rim, then pick up a small to medium bead of acrylic powder at the wettest part of the brush.
- Place the bead at the stress area (middle third of the nail). Pat and smooth it toward the free edge first — building the apex and free edge before the cuticle area.
- Pick up a second smaller bead for the cuticle area. Press it into place and smooth toward the cuticle, keeping product off the skin.
- Allow 2–3 minutes for the acrylic to harden fully (test by tapping — it should sound and feel solid, not hollow or flexible).
- Remove nail form or buff down tips. File to your chosen shape using a 180-grit file; refine with a 220-grit buffer.
- Apply gel top coat and cure under LED lamp, or finish with regular polish and a fast-dry top coat.
Common Questions
Frequently Asked Questions About Acrylic Nail Designs
How often do acrylics need fills?
Every 2–3 weeks. As natural nails grow, a gap develops between the acrylic and the cuticle. A fill applies fresh acrylic to that gap, maintaining the shape and structure. Full sets are replaced every 6–8 weeks when the acrylic has grown too far from the natural nail to fill effectively.
Do acrylic nails damage natural nails?
The filing during prep and removal is what thins the natural nail over time — not the acrylic product itself. Careful application by an experienced technician using proper prep technique causes minimal damage. The majority of nail damage associated with acrylics comes from improper removal: prying or peeling off the enhancement, which takes layers of natural nail with it.
Can I shower and swim with acrylic nails?
Yes — acrylics are water-resistant under normal conditions. Daily showers, dishwashing, and swimming don't degrade properly cured acrylics. Extended soaking (hot tubs, long baths) can slightly soften the acrylic over time and may loosen tips. Avoid soaking hands in acetone unless you're intentionally removing the set.
How long does a full acrylic set take?
A professional full set takes 1.5–2.5 hours depending on nail art complexity. At-home application with a kit takes 2–3 hours for beginners. Fills take 45–75 minutes at a salon. Budget extra time if you're getting detailed nail art on top of the acrylic base.
What nail shapes work best with acrylics?
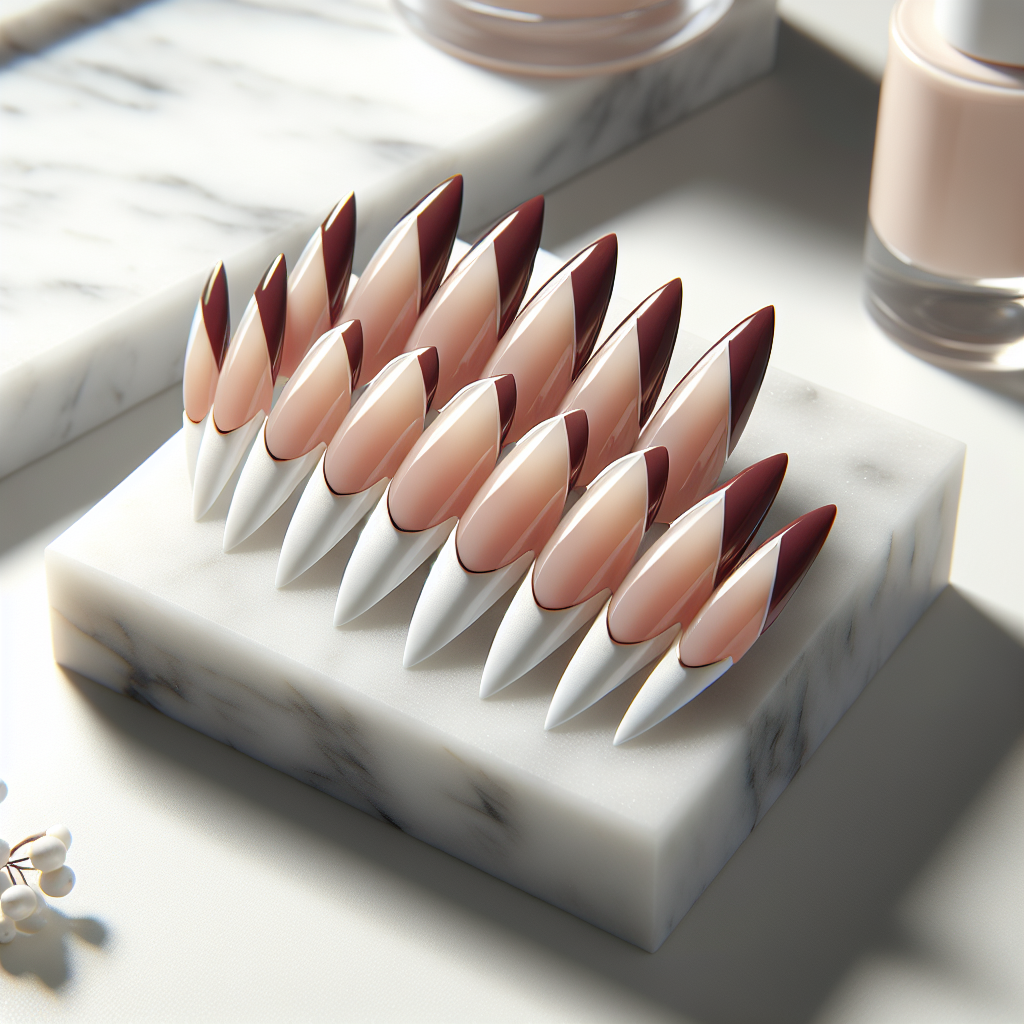
Coffin and stiletto shapes structurally require acrylic or hard gel — the length and narrow taper can't be maintained in regular gel polish. Oval and almond shapes are achievable in either material. Square and squoval are the most durable acrylic shapes for everyday wear because the blunt edge distributes stress evenly.
Keep Them Perfect
Maintenance Tips for Acrylic Nail Designs
The single most important maintenance rule: never skip or significantly delay your fills. Leaving more than 3 weeks between fills allows stress fractures to develop in the acrylic at the grown-out junction — these can propagate into the natural nail below. If you absolutely can't get a fill on time, apply a thin layer of clear gel over the gap temporarily to stabilize the enhancement until your appointment. Keep your acrylics moisturized: the filing and chemical exposure during application dries out the nail bed and surrounding skin. Use cuticle oil twice daily throughout the wear period — jojoba and vitamin E formulas penetrate best and maintain the suppleness that prevents brittleness and breakage under the acrylic overlay.