The Full Picture
Everything You Need to Know About Nail Art Designs
Nail art has a documented history stretching back thousands of years — ancient Egyptians used henna to stain nails, Chinese aristocrats wore intricate jade nail guards, and the Inca painted eagle motifs on fingertips. The modern nail art movement was born in the 1970s when pioneering technicians in Los Angeles began experimenting with airbrushing and hand-painted designs. By the 1990s, nail art studios were opening in cities worldwide, and the skill had graduated from niche craft to established profession with its own training schools and competitions.
Today, nail art is fully mainstream. Social media — particularly TikTok and Instagram — transformed nail art from salon specialty into global DIY culture. Hashtags like #nailart have accumulated tens of billions of views on TikTok alone. The democratization of tools (stamping plates, nail stickers, gel ink pens, chrome powders) means anyone can achieve results that once required professional training. New techniques like water marbling, foil transfers, and 3D gel sculpting have expanded what's possible at home significantly.
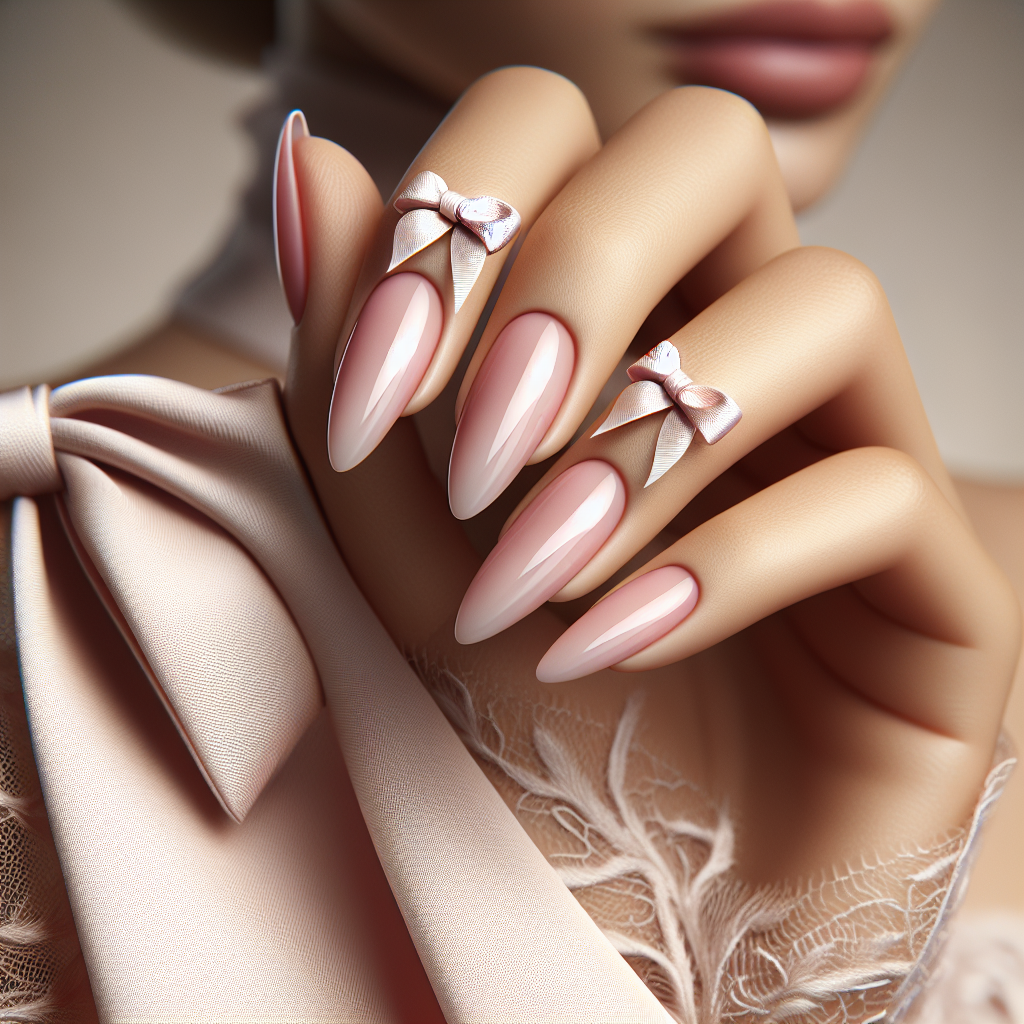
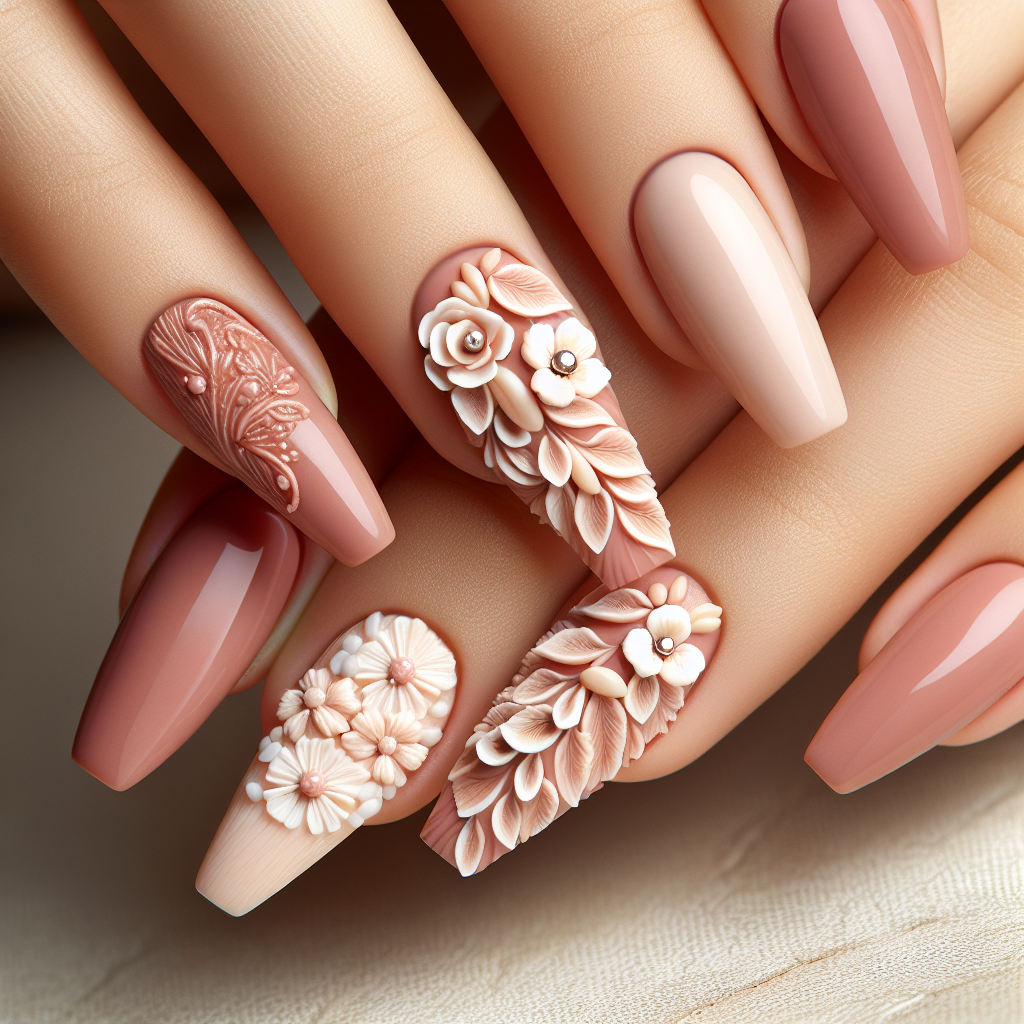
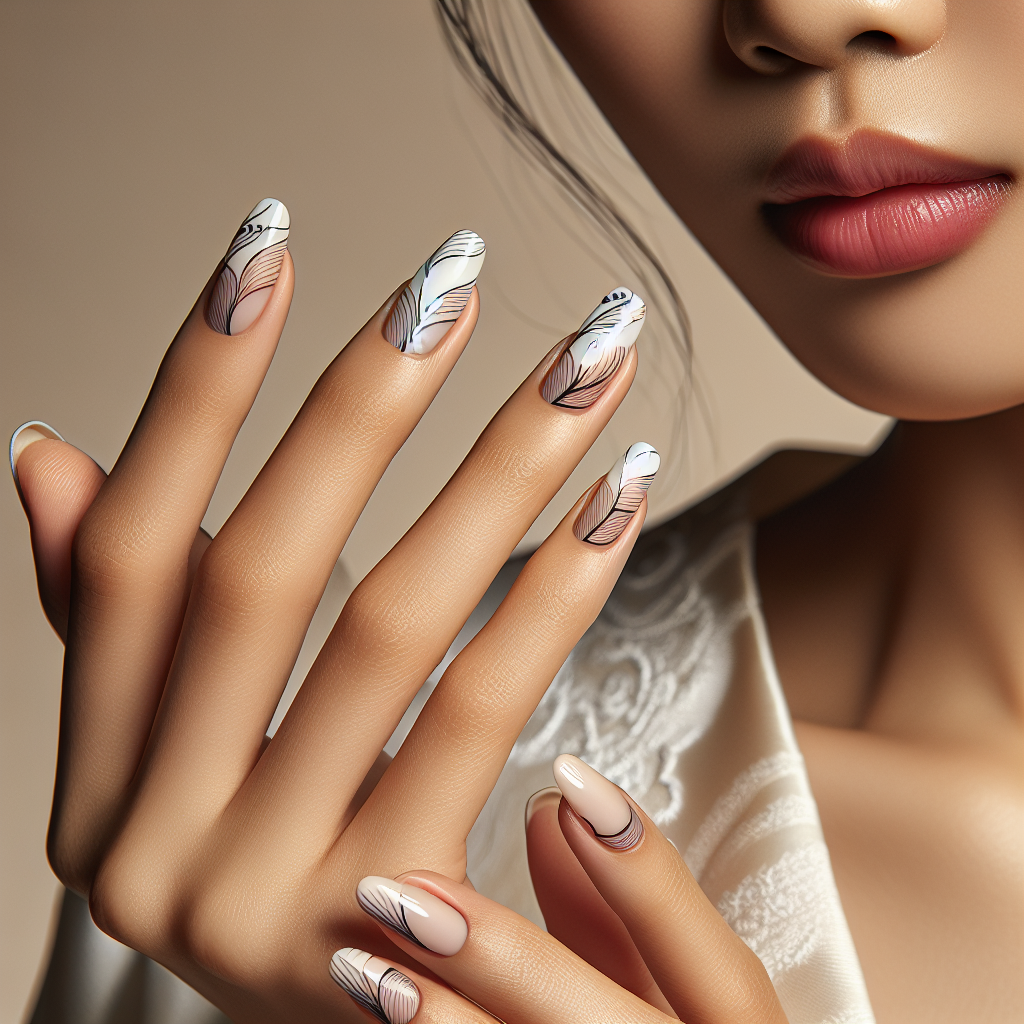
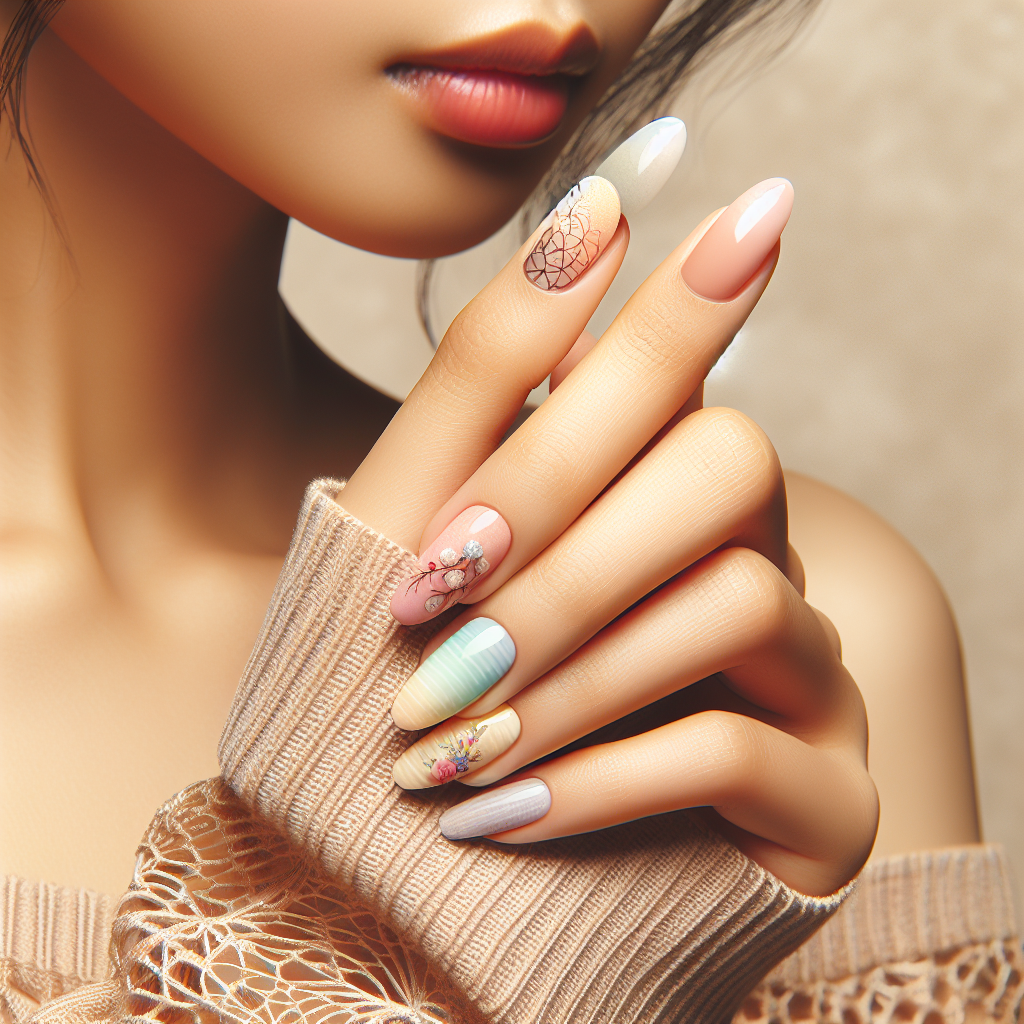
Nail art suits every nail shape and length, but the designs that work best depend on your canvas. Longer almond or coffin nails offer more surface for intricate florals, miniature landscapes, and abstract layered art. Medium oval nails carry geometric patterns and negative space designs beautifully. Even very short square nails look striking with a graphic dot, stripe, or micro-floral on a single accent finger. The rule of thumb: complexity scales with canvas size, but minimalism on short nails is a design choice, not a compromise.
The best nail art designs of 2026 blend wearability with craftsmanship. Aesthetic trends this year lean toward soft botanicals, metallic geometrics, and quiet luxury — detailed enough to be interesting up close, clean enough to wear in professional settings. Whether you want a full set of hand-painted magnolias or a single chrome accent nail, the right design is the one you'll still love in week two.
Step by Step
How to Do Nail Art at Home
- Start with a clean, dry nail — remove any oil or residue with isopropyl alcohol or a nail dehydrator.
- Apply a base coat and let it dry fully (2 minutes minimum for regular polish; cure 30 seconds for gel base).
- Apply your background color in two thin coats, allowing each coat to dry or cure before proceeding.
- Load a fine detail brush (size 10/0 or smaller) with your chosen color — wipe excess on the bottle rim to control the bead of polish.
- Work from the base of the design upward; lay down larger shapes first, then add fine detail lines on top after the first layer dries.
- For stamping: apply stamping polish to the plate, scrape flush with a card, press the stamper firmly, and transfer to your nail in one smooth motion.
- Allow the design to dry completely — at least 5 minutes for complex layered work.
- Seal with a gel or quick-dry top coat; apply in slow, even strokes from base to free edge to avoid smearing the design.
- Clean up any edges with a small brush dipped in acetone for a sharp, salon-clean finish.
Common Questions
Frequently Asked Questions About Nail Art Designs
How long does nail art take?
Simple nail art — dots, stripes, single-color geometric — takes 20–30 minutes total. Intricate hand-painted florals or layered abstract designs can take 2–3 hours. Stamping designs are the fastest option: most complete sets take 45–60 minutes start to finish.
Can I do nail art on short nails?
Yes — short nails look great with minimalist designs. Micro dots, thin geometric lines, negative space, and a single accent nail with detailed art all read beautifully on shorter lengths. The principle is to match complexity to canvas: a simple two-color graphic on short nails looks intentional, not incomplete.
What is the best nail art technique for beginners?
Stamping plates are the easiest entry point — no freehand skill needed, and results look professional from the first attempt. After stamping, try nail stickers and water decals. For freehand work, dotting tool art (using a dedicated dotting tool or the rounded end of a bobby pin) is the most forgiving technique to start with.
How do I stop nail art from smudging?
Let each layer dry completely before adding the next — this is the most common mistake. Use a quick-dry top coat, or switch to a gel top coat cured under a UV/LED lamp for a smudge-proof finish. For very intricate art, give the design 10 minutes before sealing, even if it feels dry to the touch.
Does nail art damage nails?
The art itself does not damage nails — the application and removal process is where damage happens. The biggest risk is picking or peeling designs off, which removes layers of the nail plate with them. Always remove with acetone-soaked cotton and foil wraps. The nail underneath will be healthy if removal is done correctly.
Keep Them Perfect
Maintenance Tips for Nail Art Designs
Nail art at the free edge wears first — apply a thin refresh layer of top coat every 2–3 days, focusing on capping the tip. Avoid prolonged water exposure (wear gloves for dishes and cleaning) and aggressive solvents. When chips appear, touch up with the original color and re-seal with top coat rather than removing the whole set. For gel nail art, book a fill at the 3-week mark — the art layer stays intact; only the grown-out base needs fresh product. Invest in a quality LED lamp if doing gel nail art at home: undercured gel lifts at the edges and traps moisture, shortening the life of even the most beautiful design.